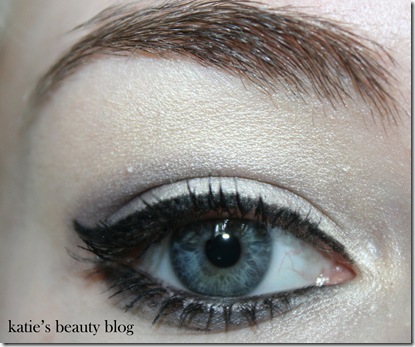
Today I will talk you through my ‘signature’ smokey black look. I wear this look almost everyday I’ll admit that I feel naked without it! I wore this look to the Edward Bess launch last week and had some compliments on it and a few of the girlies wanted to know how I did it and persuaded me to do a tutorial, so here it is!
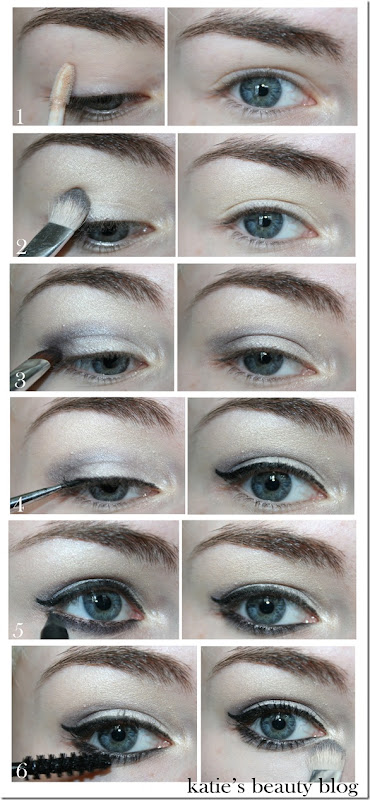
I’ve created diagrams showing the 6 steps I use to complete this look so hopefully it’ll be easy to follow at home.
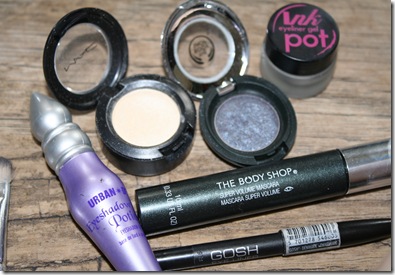
1. Start by applying primer to a clean eye, I use Urban Decay’s Primer potion.
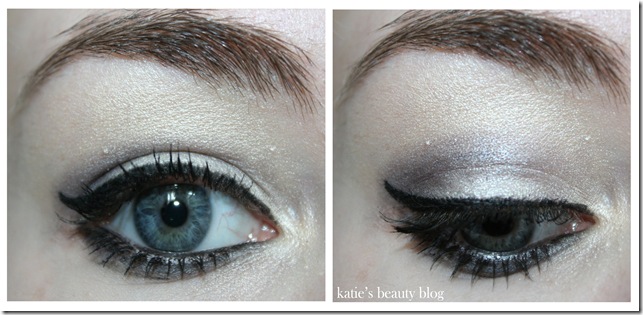
2. Apply a light base colour. I use MACs Nylon, it is my favourite base colour as it suits every other colour, it goes with browns, greens, blue etc. Its a beautiful shimmery golden as you can see in the pics above!
3. Then apply a darker shade in the crease of your eye and create a ‘<’ shape on the outer edge of your eye to open it up. Here I’ve used The Body Shops eye shadow in #42. Again, use any colour, I normally use MACs Beauty Marked.
4. Apply a liquid or gel liner to your top lash line, you can make this thick or thin as you like and you can draw on a cat flick as well to give the illusion of longer eyelashes and larger eyes.
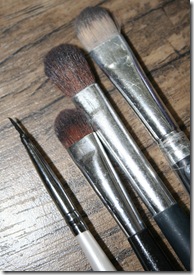
5. Apply a black kohl pencil onto your lower lash line and waterline. I use Gosh’s velvet touch kohl, its super smooth, lasts all day and is very affordable. This line doesn’t need to be neat at all – I often use a smudger brush (from TBS) to smudge this line to make it more smokey.
6. Apply mascara to top and bottom lashes, I’ve used TBS’ super volume mascara. Last but not least, apply a tab of your shimmery base colour on the inside of your eye socket, to open your eyes up and to brighten them!
And Voila!
This look takes me literally 5 minutes as I’m so used to doing it, but when I’m going out in the evening I like to add more different shades and colours to build the look up!
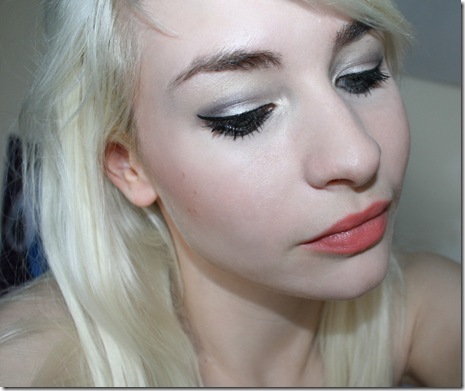
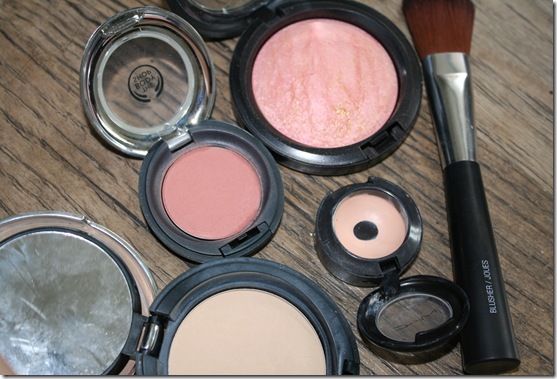
Finish with your favourite blusher and a sweep of lipstick. Here I used TBS blush in 05 Tea Rose and MAC’s Porcelain pink, with a slick of Jazzed lippie! (Sorry for the bad hair – I’ve been so lazy and haven’t brushed it today – ew! Haha!)
Products used on eyes –
Products used on face –
Did you enjoy this? Would you like to see more tutorials in the future?
If anyone tries this look out, show me a picture and let me know if it was easy to follow!
XXX
Great tutorial, amazing eyemakeup always makes me jealous! x
your eyes are gorgeous!
this is a great look on you, i can see why you wear it all the time. i have to admit, i have a love/hate relationship with the "cat eye." mostly because my eyes are such different shapes, it's so hard to get them looking even!
-dani
http://callitbeauty.blogspot.com/
More tutorials please!
Your eyes are so gorgeous!
Hopefully, I can pull this off…haven't tried a smokey look for the longest time!
<33 REna
lovely! your eyes are an incredible colour. will deffo be getting some of the products you used.
xxxx
Great tutorial, your eye make up looked great at the event and I'll definitely be attempting to recreate the look x
I love, love the eye makeup. I want to buy those two colors and try them it on!
I most probably will 😉